
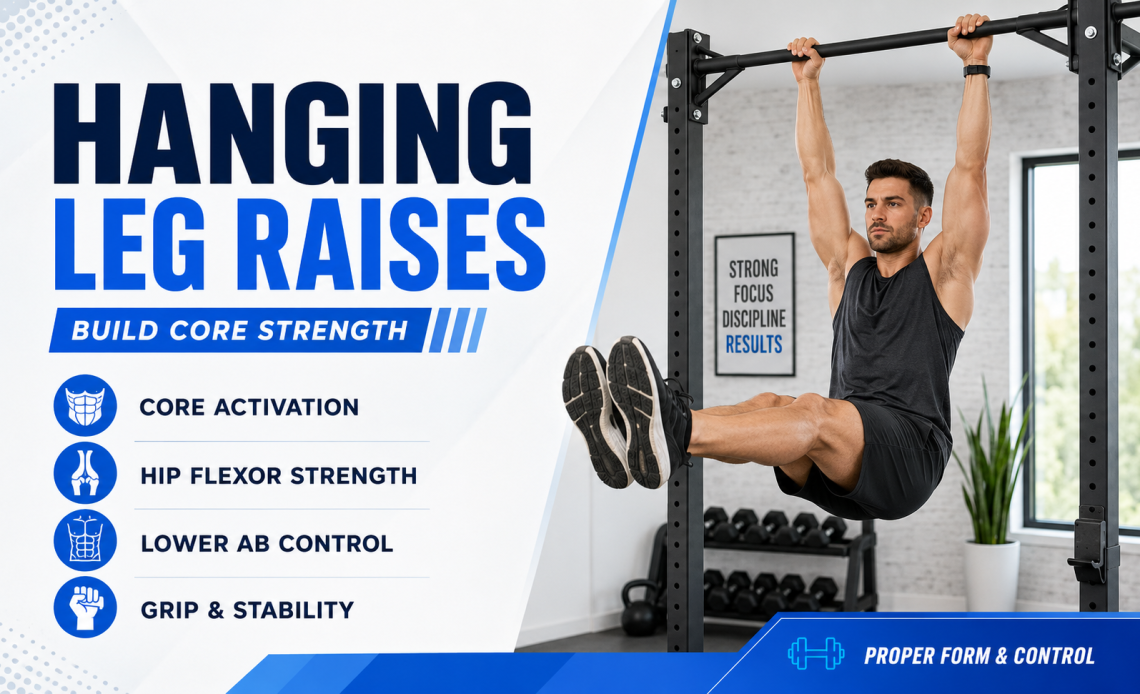
Most people who “can’t feel” Hanging Leg Raises in their abs aren’t weak, they’re just starting at the wrong level or missing one small technique cue. This guide is built around figuring out exactly where you are, and what single fix will move you forward fastest.
Quick Self-Test: Where Should You Start?
Hang from a bar for 10 seconds with good posture, then try 3 slow leg raises to parallel. Match what happened to where you should begin:
| What Happened | Where to Start |
| Couldn’t hold the dead hang for 10 seconds | Grip and hang endurance work first, before leg raises at all |
| Held the hang fine, but legs swung to get up | Captain’s chair knee raises, or hanging knee raises with a dead-stop reset |
| Got legs to parallel with some control, no swing | Hanging knee raises for volume, working toward straight-leg |
| Straight legs to parallel, fully controlled, no swing | You’re ready for standard hanging leg raises as your main set |
| Standard version feels too easy for 3 sets of 10+ | Progress toward toes-to-bar or add ankle weights |
The Progression Ladder
Work through these in order. The rule for moving up: 3 sets of 10 strict reps, zero swing, full control on the way down.
- Captain’s Chair Knee Raise — Forearms supported on padding, so grip and shoulder stability are removed from the equation entirely. Pure focus on curling the pelvis up. This is where most beginners should actually start, not on the bar.
- Hanging Knee Raise — Same movement, now on a pull-up bar, adding a real grip and shoulder stability demand. Knees drive toward the chest.
- Hanging Bent-to-Straight Raise — Start with bent knees, straighten the legs near the top of the rep to build toward full straight-leg control without needing it for the whole range.
- Standard Hanging Leg Raise — Straight legs from a dead hang to parallel with the floor, controlled both up and down.
- Toes-to-Bar — Raise straight legs all the way up until toes touch the bar, significantly increasing the range of motion and abdominal demand.
- Weighted Hanging Leg Raise — Once toes-to-bar is easy for high reps, add ankle weights or hold a light dumbbell between your feet.
Perfect Form, Step by Step (Standard Version)
- Grip the bar slightly wider than shoulder width and hang freely, feet off the ground.
- Depress your shoulder blades down away from your ears before starting the rep; don’t let your shoulders hike up toward the bar.
- Brace your core as if about to be poked in the stomach.
- Curl your pelvis up first, tailbone tucking toward your ribs, before your legs start moving. This one cue is what separates an ab-focused rep from a hip-flexor-focused rep.
- Raise your straight (or bent, if regressing) legs until they’re roughly parallel with the floor, without any body swing.
- Pause briefly at the top, then lower for a full 2 to 3 seconds under control, resisting gravity the whole way down.
- Come to a complete stop at the bottom before starting the next rep. Don’t bounce straight into the next one.
What Muscles Are Actually Working
| Muscle | Role | Notes |
| Rectus abdominis | Primary mover when pelvis is tucked | The pelvic curl cue is what shifts emphasis here |
| Hip flexors (iliopsoas) | Primary mover if pelvis stays tilted forward | Dominates the movement if the pelvic tuck is skipped |
| Obliques | Stabilization, more active in angled or twisting variations | Increases with side-to-side or windshield-wiper variations |
| Forearms and grip | Isometric stabilizers | Straps can offset grip limits without changing ab work |
| Lats and upper back | Stabilize the hang position | Keep shoulders depressed to engage these properly |
Mistake Diagnostic: Match Your Symptom to the Fix
| What You’re Feeling | Likely Cause | The Fix |
| Mostly feel it in the front of my hips, not my abs | Pelvis stays tilted forward; hip flexors are doing the work | Cue the pelvic tuck before the legs move at all; regress to captain’s chair to relearn it |
| Legs swing to get momentum | Kipping instead of controlled lifting | Full stop and reset at the dead hang before every single rep |
| Shoulders creep up toward my ears | No scapular depression before the rep | Actively pull shoulder blades down and back before initiating |
| Pinching feeling in the front of the hip | Range of motion too large for current control | Reduce range, bend the knees, and emphasize the tuck; consider captain’s chair temporarily |
| Reps get easier but abs stop feeling worked | Dropping the eccentric (lowering too fast) | Slow the lowering phase to 2–3 full seconds every rep |
| Lower back discomfort during or after | Excess lumbar extension or too much range too soon | Limit range to parallel, keep the tuck, and build up gradually |
A Note on Spine Load (Why This Isn’t a Beginner Move)
Biomechanics research measuring common ab exercises found that straight-leg hanging raises produced meaningfully higher spinal compression forces than many floor-based alternatives like the ab-wheel rollout. That doesn’t mean the exercise is dangerous when done well, but it’s part of why progressing gradually, controlling the eccentric, and not skipping straight to the hardest variation matters more here than it does for something like a plank.
Who Should Modify or Skip This Exercise
- Anyone with a history of low-back pain: start with bent-knee versions, limit range to parallel, and prioritize the captain’s chair variation until pain-free
- People with shoulder issues or limited grip strength: the captain’s chair removes both variables while keeping the ab-focused movement pattern
- Complete beginners to hanging exercises: build dead-hang tolerance and grip endurance before adding leg raises on top
- Anyone feeling sharp pain, numbness, or radiating symptoms: stop immediately and consult a physical therapist or doctor rather than pushing through
A Realistic 4-Week Progression Example
| Week | Focus |
| Week 1 | Captain’s chair knee raises, 3 sets, focusing entirely on the pelvic tuck cue with zero swing |
| Week 2 | Hanging knee raises on the bar, same rep scheme, now adding the grip and shoulder-stability demand |
| Week 3 | Hanging bent-to-straight raises, straightening the legs near the top of each rep |
| Week 4 | Standard hanging leg raise, straight legs to parallel, full 2–3 second controlled lowering |
Progress only when you can hit 3 sets of 10 strict, swing-free reps at your current level, not on a fixed timeline.
Quick Answers
Why can’t I feel my abs working during hanging leg raises?
This almost always means the pelvis isn’t curling up before the legs move, which shifts the work to the hip flexors instead. Regressing to captain’s chair to relearn the pelvic tuck usually fixes it fast.
Is it normal to not be able to do a single strict hanging leg raise at first?
Yes, very normal. This is an advanced movement, and starting on captain’s chair or with knee raises is a legitimate, recommended entry point, not a lesser version of the exercise.
Should I use lifting straps for hanging leg raises?
If grip is your limiting factor before your abs are actually fatigued, straps can let you train the target muscle properly instead of ending sets early due to grip failure.
How often should I train hanging leg raises?
Two to three times per week with a day of rest between sessions is a common approach, allowing time for the core and hip flexors to recover.
Why do my hip flexors get sore instead of my abs?
This usually confirms the pelvic tuck cue is being skipped. Focus specifically on curling the tailbone up before the legs leave the hang position.
This article is for general educational purposes only and is not a substitute for personalized guidance from a certified trainer or physical therapist. Consult a professional if you have an existing back, hip, or shoulder condition.